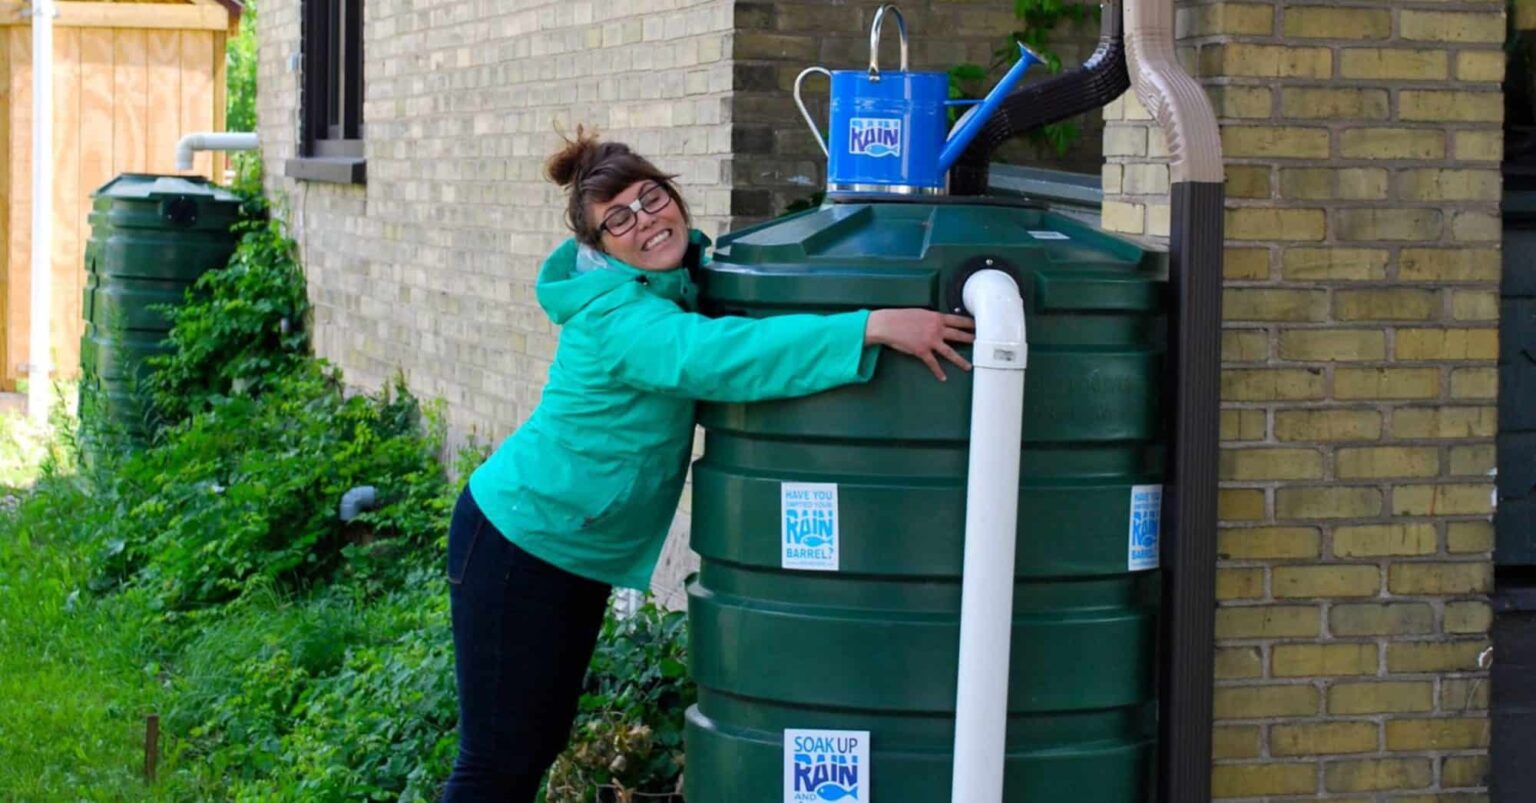
Rain barrels are becoming very popular among Canadians, especially during the summer. They collect rainwater from rooftops, which can then be used to water gardens and lawns, clean garden tools, and wash cars.
Rain barrels promote sustainability by reducing household water demands, making them a favourite among climate-conscious gardeners and homeowners. As the highly rated podcast Rain Barrel Gardening notes, collecting rainwater is a convenient and inexpensive method to conserve water and even reduce energy usage! Similarly, Grow More With Less by horticulture expert Vincent Simeone shares how installing rain barrels at home is one of the most efficient gardening approaches that anyone can follow for the long term.
Rain barrels also help homeowners mitigate the effects of flooding, which are becoming more prevalent and intense because of climate change.
Although rain barrels are helpful during the warmer months, they are vulnerable during the winter. If not cared for properly, they can break and will need to be replaced. Here are the four easy steps to winterize your rain barrels so they can serve you in years to come.
Step 1: Drain the rain barrels

Any water left in the rain barrel will freeze over the winter. This will cause damage to your barrel, especially if it is made from plastic. That is why completely draining the container should be your first step.
To drain it, simply open the spigot all the way, and let the water pour out. Since the average rain barrel weighs nearly 500 pounds when full, it is better to fully drain the container first before attempting to move it.
Consider using the rainwater inside the barrel to water your plants or clean your house so that water is not wasted. Once the content drops below the level of the spigot, the barrel should be light enough for you to carry and pour out any remaining water.
Step 2: Remove the barrel lid and other attachments
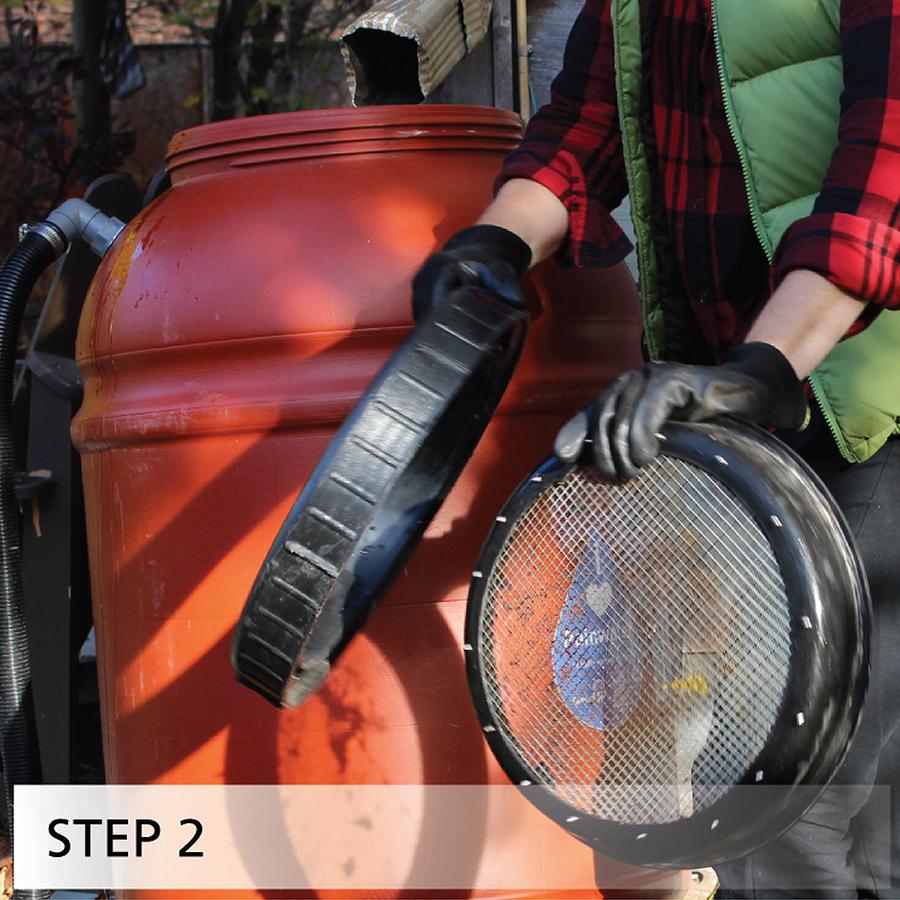
After draining the barrel, it is time to remove the lid and any other attachments like hoses, spigots, and tubing. It is important to remove everything because these parts could also freeze and break as the temperature drops if they are left outside with water residue in them. This is because hoses made from rubber or plastic become brittle when exposed to cold temperatures.
So, after rinsing the barrel along with its lid and attachments to remove any accumulated algae or debris, ensure that you dry and store them separately.
Step 3: Detach the barrel from the gutter or downspout
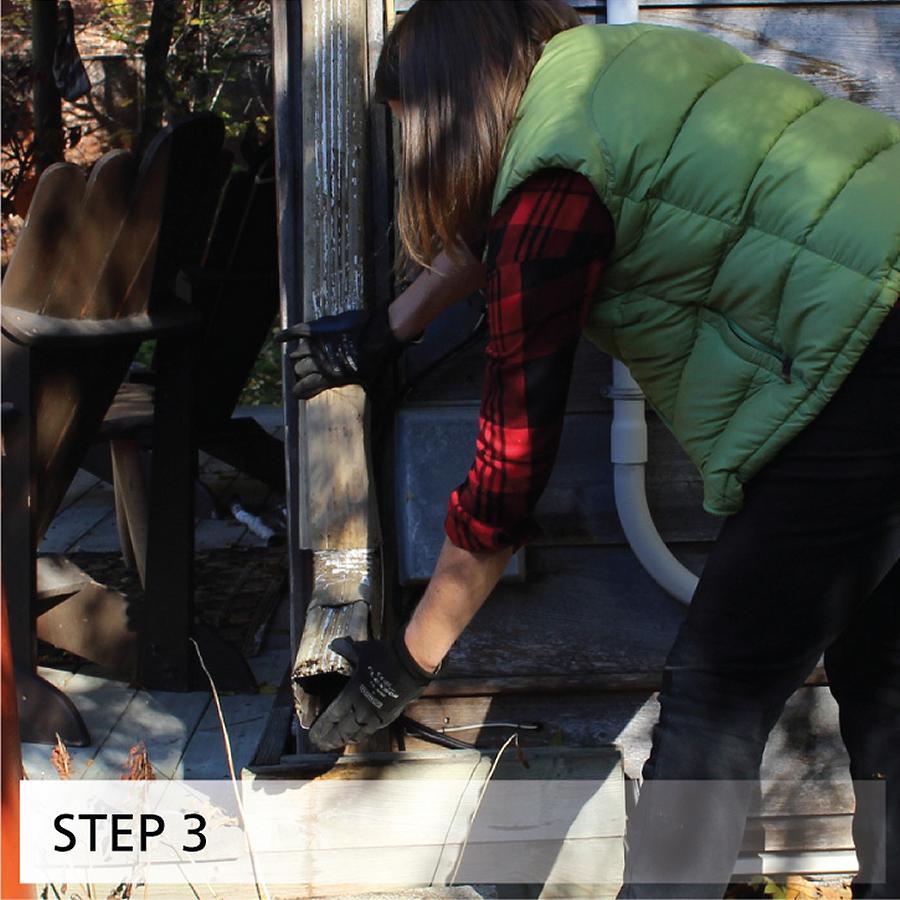
Next, detach or move your rain barrel away from your house’s gutter or downspout. This is a straightforward step since most barrels are not directly attached to a downspout pipeline. If your container is attached to the downspout, you may need a screwdriver or pliers to separate the barrel from the pipe.
Once you have removed the container, reattach the length of the downspout that extends to the ground, which was removed when you installed the rain barrel. As discussed in our article on Fall Flood Prevention Tips For Your Home, make sure to use a flexible rain spout diverter if necessary to redirect the flow of rainwater away from your house to avoid potential damage to the foundation.
Step 4: Store the rain barrel properly
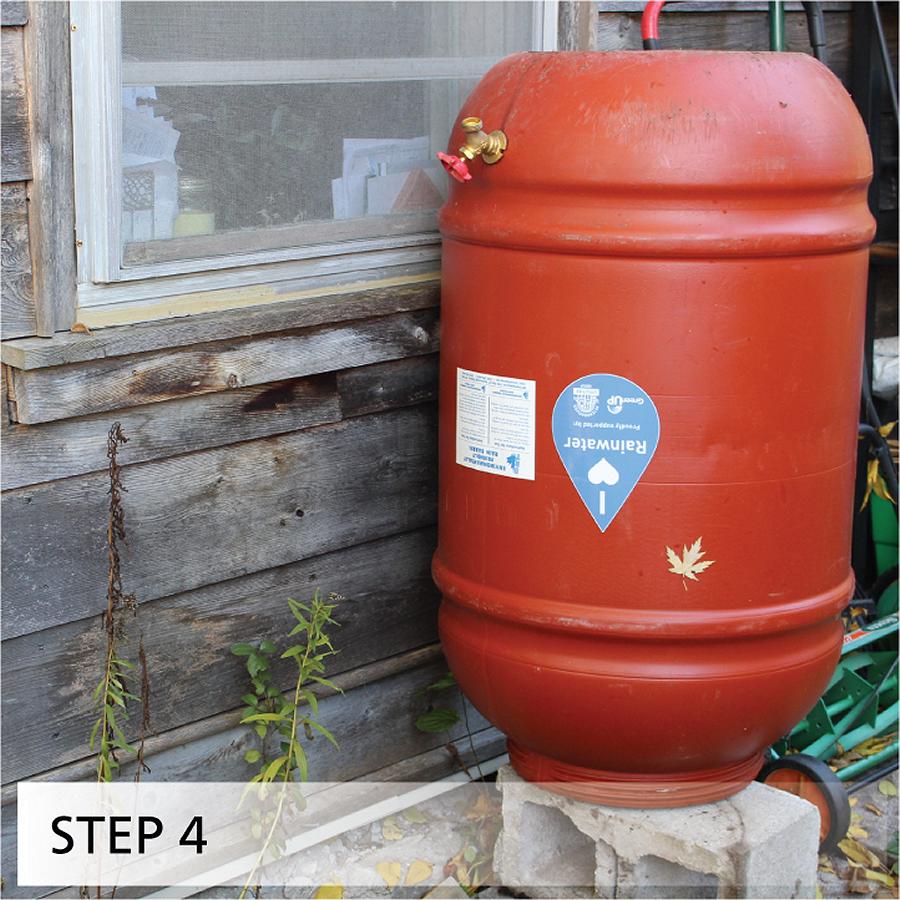
Lastly, store your rain barrel in a secure and dry place during winter, preferably inside a shed, basement, or garage, to extend its life. Conversely, if you are leaving your barrel outside, make sure to keep it tightly closed or positioned upside down. Doing so will prevent water and snow from accumulating inside.